
How to Make Fermented Pickles: My Step-by-Step Guide

Simple, tangy, probiotic-rich goodness—no vinegar needed!
If you’ve never made fermented pickles before, this recipe is a perfect place to start. Unlike traditional pickles made with vinegar, these are lacto-fermented using a salty brine and beneficial bacteria. The result? Crunchy, tangy pickles that are teeming with gut-loving probiotics—and totally customizable.
Here’s how I make mine in a half-gallon jar.
Ingredients
Cucumbers (enough to fill a half-gallon jar—about 6–8 small to medium pickling cucumbers)
1 cup starter brine (from a previous ferment or a jar of Bubbies brand fermented pickles) or 1 cup whey (strained from plain yogurt or kefir)
5–6 bay leaves (for tannins that help keep your pickles crisp…fresh is best, but I typically use dry)
3–4 garlic cloves, whole or slightly smashed, depending on how strong you want the garlic flavor
~1 tsp whole clove
~1 tsp celery seed
~1 tsp black peppercorns
~1 tsp whole allspice berries
-fresh dill
2 tbsp unrefined salt (like sea salt or pink salt)
5 cups filtered or spring water (chlorine-free!)
fermentation weights or a glass cup
Instructions
Prep Your Cucumbers
Wash cucumbers thoroughly.I leave mine whole to make sure they stay as crunchy as possible. You can cut into spears, but you’ll risk the center becoming a bit mushy. Still just as beneficial with probiotics - but maybe not everyone’s cup of tea for texture. Optional: soak them in ice water for 1–2 hours before fermenting to boost crispiness.Make the Brine
Heat 5 cups of filtered or spring water. (You don’t want chlorinated water as it can mess with the good bacteria in the fermentation process. Alternatively, you can leave water sit out, uncovered, for about 24 hours and the chlorine will evaporate.) Dissolve 2 tablespoons of salt into the 5 cups of water. Stir until completely dissolved. This creates a 2–3% brine—perfect for pickles! Let cool.Pack the Jar
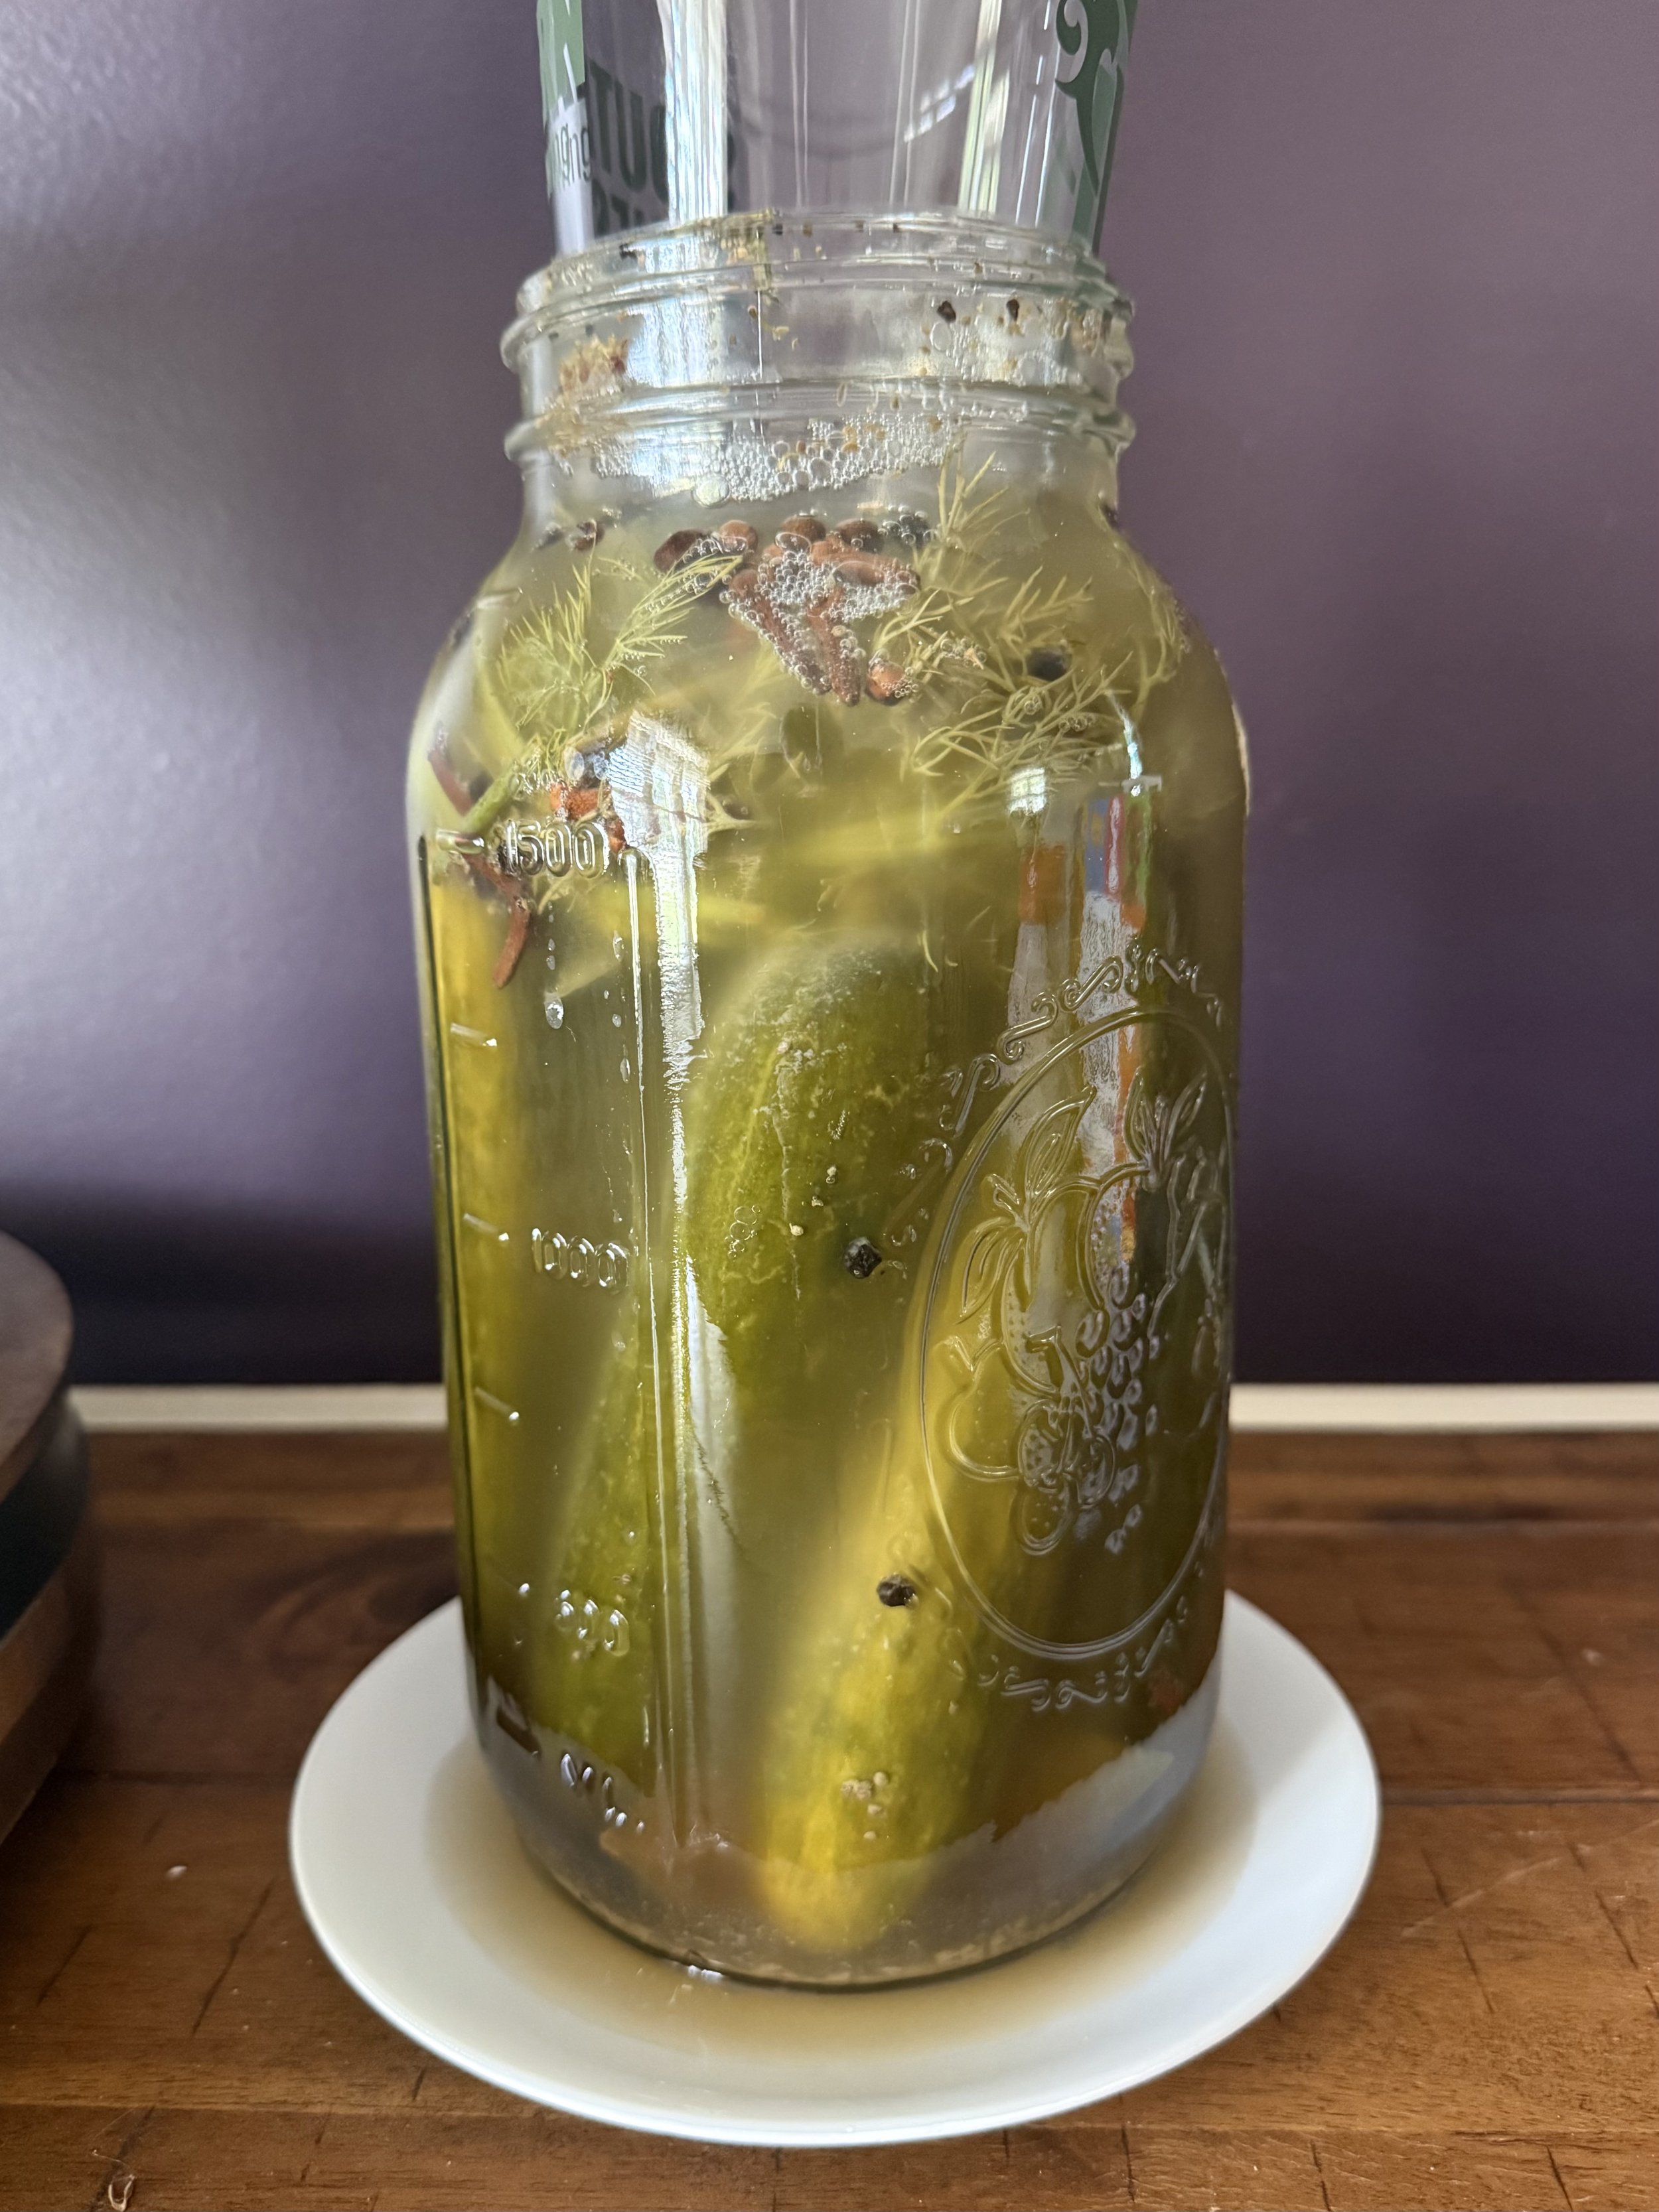
In your clean half-gallon jar, add half the bay leaves, garlic, whole clove, celery seed, peppercorns, and allspice. I don’t measure any of these spices. I just pour some into the bottom. It doesn’t have to be an exact science. Tightly pack the cucumbers on top. You want as little empty space as possible.Add the Starter
Pour in your 1 cup of starter brine or whey. This helps kick-start the fermentation with healthy bacteria. Note: Some recipes only call for brine and no starter, but this method takes longer. I found when I tried this in the past, my ferments had a greater chance of molding because of the longer fermentation time, so I prefer fermenting with the starter brine.Add the Brine
Pour the prepared saltwater brine into the jar until the cucumbers are fully submerged. Add the rest of your bay leaves and fresh dill on top of the cucumbers. Leave about 1 inch of space at the top. Weigh down the cucumbers if needed to keep them under the brine—no floaters! You can use these fermentation weights, or a clean jar. This step is important! If anything is sticking out of the brine, including any dill, it will mold and the whole batch will be bad. Make sure everything is submerged!Ferment
Cover the jar with a fermentation lid or a loose-fitting lid (or even a clean cloth secured with a rubber band). Let it ferment at room temperature (65–75°F is ideal) for 3–5 days. Start tasting around day 3. Warmer temps will speed it up, cooler temps may slow it down. You should start to see bubbles at the top after a day or two. This is a good sign! Also, it may expand some, so place the jar under a plate or something to catch spills.Store
Once they’re as tangy as you like, move the jar to the fridge. The cooler temperature will slow fermentation and help the flavor develop further.
Tips & Notes
If your pickles get cloudy—that’s normal! It’s a sign of healthy fermentation.
A white film on the surface is likely kahm yeast—harmless, just skim it off.
Mold isn’t normal—discard if you see fuzzy spots or smell anything rotten.
Why Ferment Pickles?
Fermented pickles are more than just delicious—they’re rich in natural probiotics, support gut health, and are free from vinegar, preservatives, and artificial ingredients. Plus, it’s satisfying and empowering to make your own nourishing food from scratch!
Let me know if you give this recipe a try—or tag us on social @nourishandflourishbaking with your crunchy, bubbly pickle jars!